
There’s no doubt that 3D printing technology is already making waves and changing the facet in the manufacturing world in producing a wide range of objects from toys, tools, body parts, anything you can think of. In fact, businesses yet to adopt this invention are now part of an ever-striking minority.
When it comes to 3D printing; speed, flexibility and cost benefits are its major benefits. The world is ever-evolving, and this invention is here to stay.
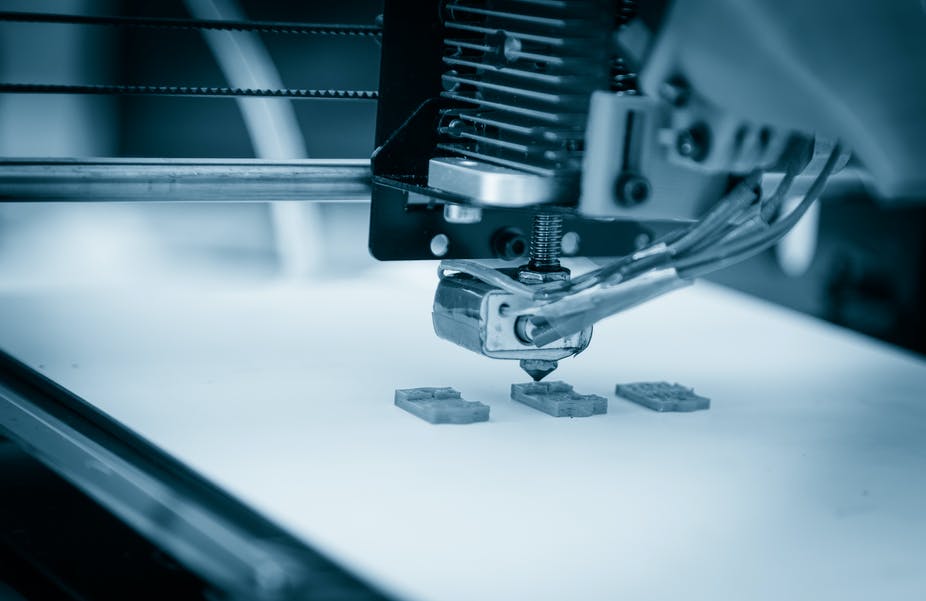
Starting 3D printing with Flashforge Finder is easier and cheaper than ever. It’s ready to go right out of the box, with just minor adjustments. All heating elements are protected against contact and the impression material is non-toxic PLA.
Finder is the perfect entry-level 3D printer for home, school, and beginners.
The design of the Finder is very simple, the cable is hidden in the plastic alloy frame. All the hot parts are away from contact. A single non-toxic PLA filament option makes creating them easy and fun.
The noise level is only 50 decibels or less. All of which makes it a kid-friendly or 3D printer for families of all ages.
The black and red 3D printer comes with the FlashPrint printing software and is compatible with others, for example, simplify3D or Microsoft 3D Builder.
You use this to prepare the print files. In addition, users can dial into the WLAN in order to issue print jobs. The printer also contacts devices with a USB connection.
The FlashForge’s buffer ensures that orders that have been issued can be repeated at any time with one touch. A built-in SD card with 4 GB capacity serves as a memory.
The touch display on the printer shows the file names and small previews in 3D – practically with a large number of ordered prints.

Installation
In theory, setting up the Finder, therefore, seems relatively simple and straightforward, but it turns out to be a little more complicated in practice.
The Finder 3d printer comes fully assembled and includes a spool of blue filament that you insert into a removable chamber that is located on the back of the printer. You then push the free end of the filament through a hole in the top of the box and insert it into the top of the extruder assembly.
You load the filament according to the instructions on the touchscreen. The spool of filament is loaded into a closed vertical compartment that slides out of the top of the printer. This feature might limit the type of spool you buy, as the compartment only fits spools of a certain diameter and height.
Once the extruder is hot, the guide indicates to push down a spring-loaded tab, located on the side of the extruder, and then pull the filament without too much force. When the machine starts to extrude the filament, the loading is complete. So, straight out of the box, the Finder requires little setup.
The user guide is located on the USB key that came with the printer. After turning on the machine, the first step is to level the build plate, to ensure that the items are made on a completely flat surface.
Once the filament is installed, you remove the build plate from the printer and cover it with a sheet of 3M blue scotch tape, similar to the blue stripe we’ve seen with many other 3D printers, but with the Flashforge name and logo (The Finder comes with multiple sheets.) Then you plug in the printer, turn it on, and follow the directions for levelling the build plate from the Quick Start Guide.
The levelling of the build plate was very simple. Once you select the “levelling” icon on the printer’s touchscreen interface, the Finder recommends tightening the three screws on the bottom of the print platform.
Using a retractable sensor, the extruder moves to one of the corners above an adjuster and tests the distance between the platform and the sensor. Now, at least in theory, your build plate is level.
You can then download Flashforge’s Flashprint software from the company site or install it from the USB drive supplied with the printer. Once the software is installed, you can load a 3D object file, which you can move and rotate.
When you are done, you press Print, and a dialogue box appears; it allows you to change the print resolution (the default resolution is 200 microns but you can set an accuracy of 100 to 500 microns), and add a raft and/or supports.
Additional options are available in an advanced menu. When you are finished, you can save the file to a USB drive, which you connect to the printer, or send the job to the printer over a USB 2.0 connection or over Wi-Fi from your PC. You can load a 3D object file, which you can move and rotate.
When you are done, you press Print, and a dialogue box appears; i
t allows you to change the print resolution (the default resolution is 200 microns but you can set an accuracy of 100 to 500 microns), and add a raft and/or supports.
The software
Preparing an STL file for printing requires a cutting program. Flashforge offers one called FlashPrint which can be downloaded for free from their website or installed from the USB stick that came with the printer. Templates are supplied with the FlashPrint slicer.
FlashPrint lets you view your design from any angle or distance and includes functions to rotate the object in any direction, move the object, model the object, and add supports. This can be done manually or automatically.
Once your model is ready, just click on the “print” icon. After that, a window will appear with additional options for print resolution, rafts and more advanced options like temperature, speed and filling. Once you click ‘ok’, you will be asked to choose a location to save the model, which has now been converted to a GCode file from where you can transfer it using a USB stick or a cable.
Conclusion
The FlashForge Finder is considered to be the easiest to use the 3D printer on the market and is therefore also our “number 1” among the beginner models. They come in fully which also makes them a lot more perfect for beginners.
It is considered a cheap insider tip among 3D printers and provides excellent printing results and makes it easy to start 3D printing
Also Read: